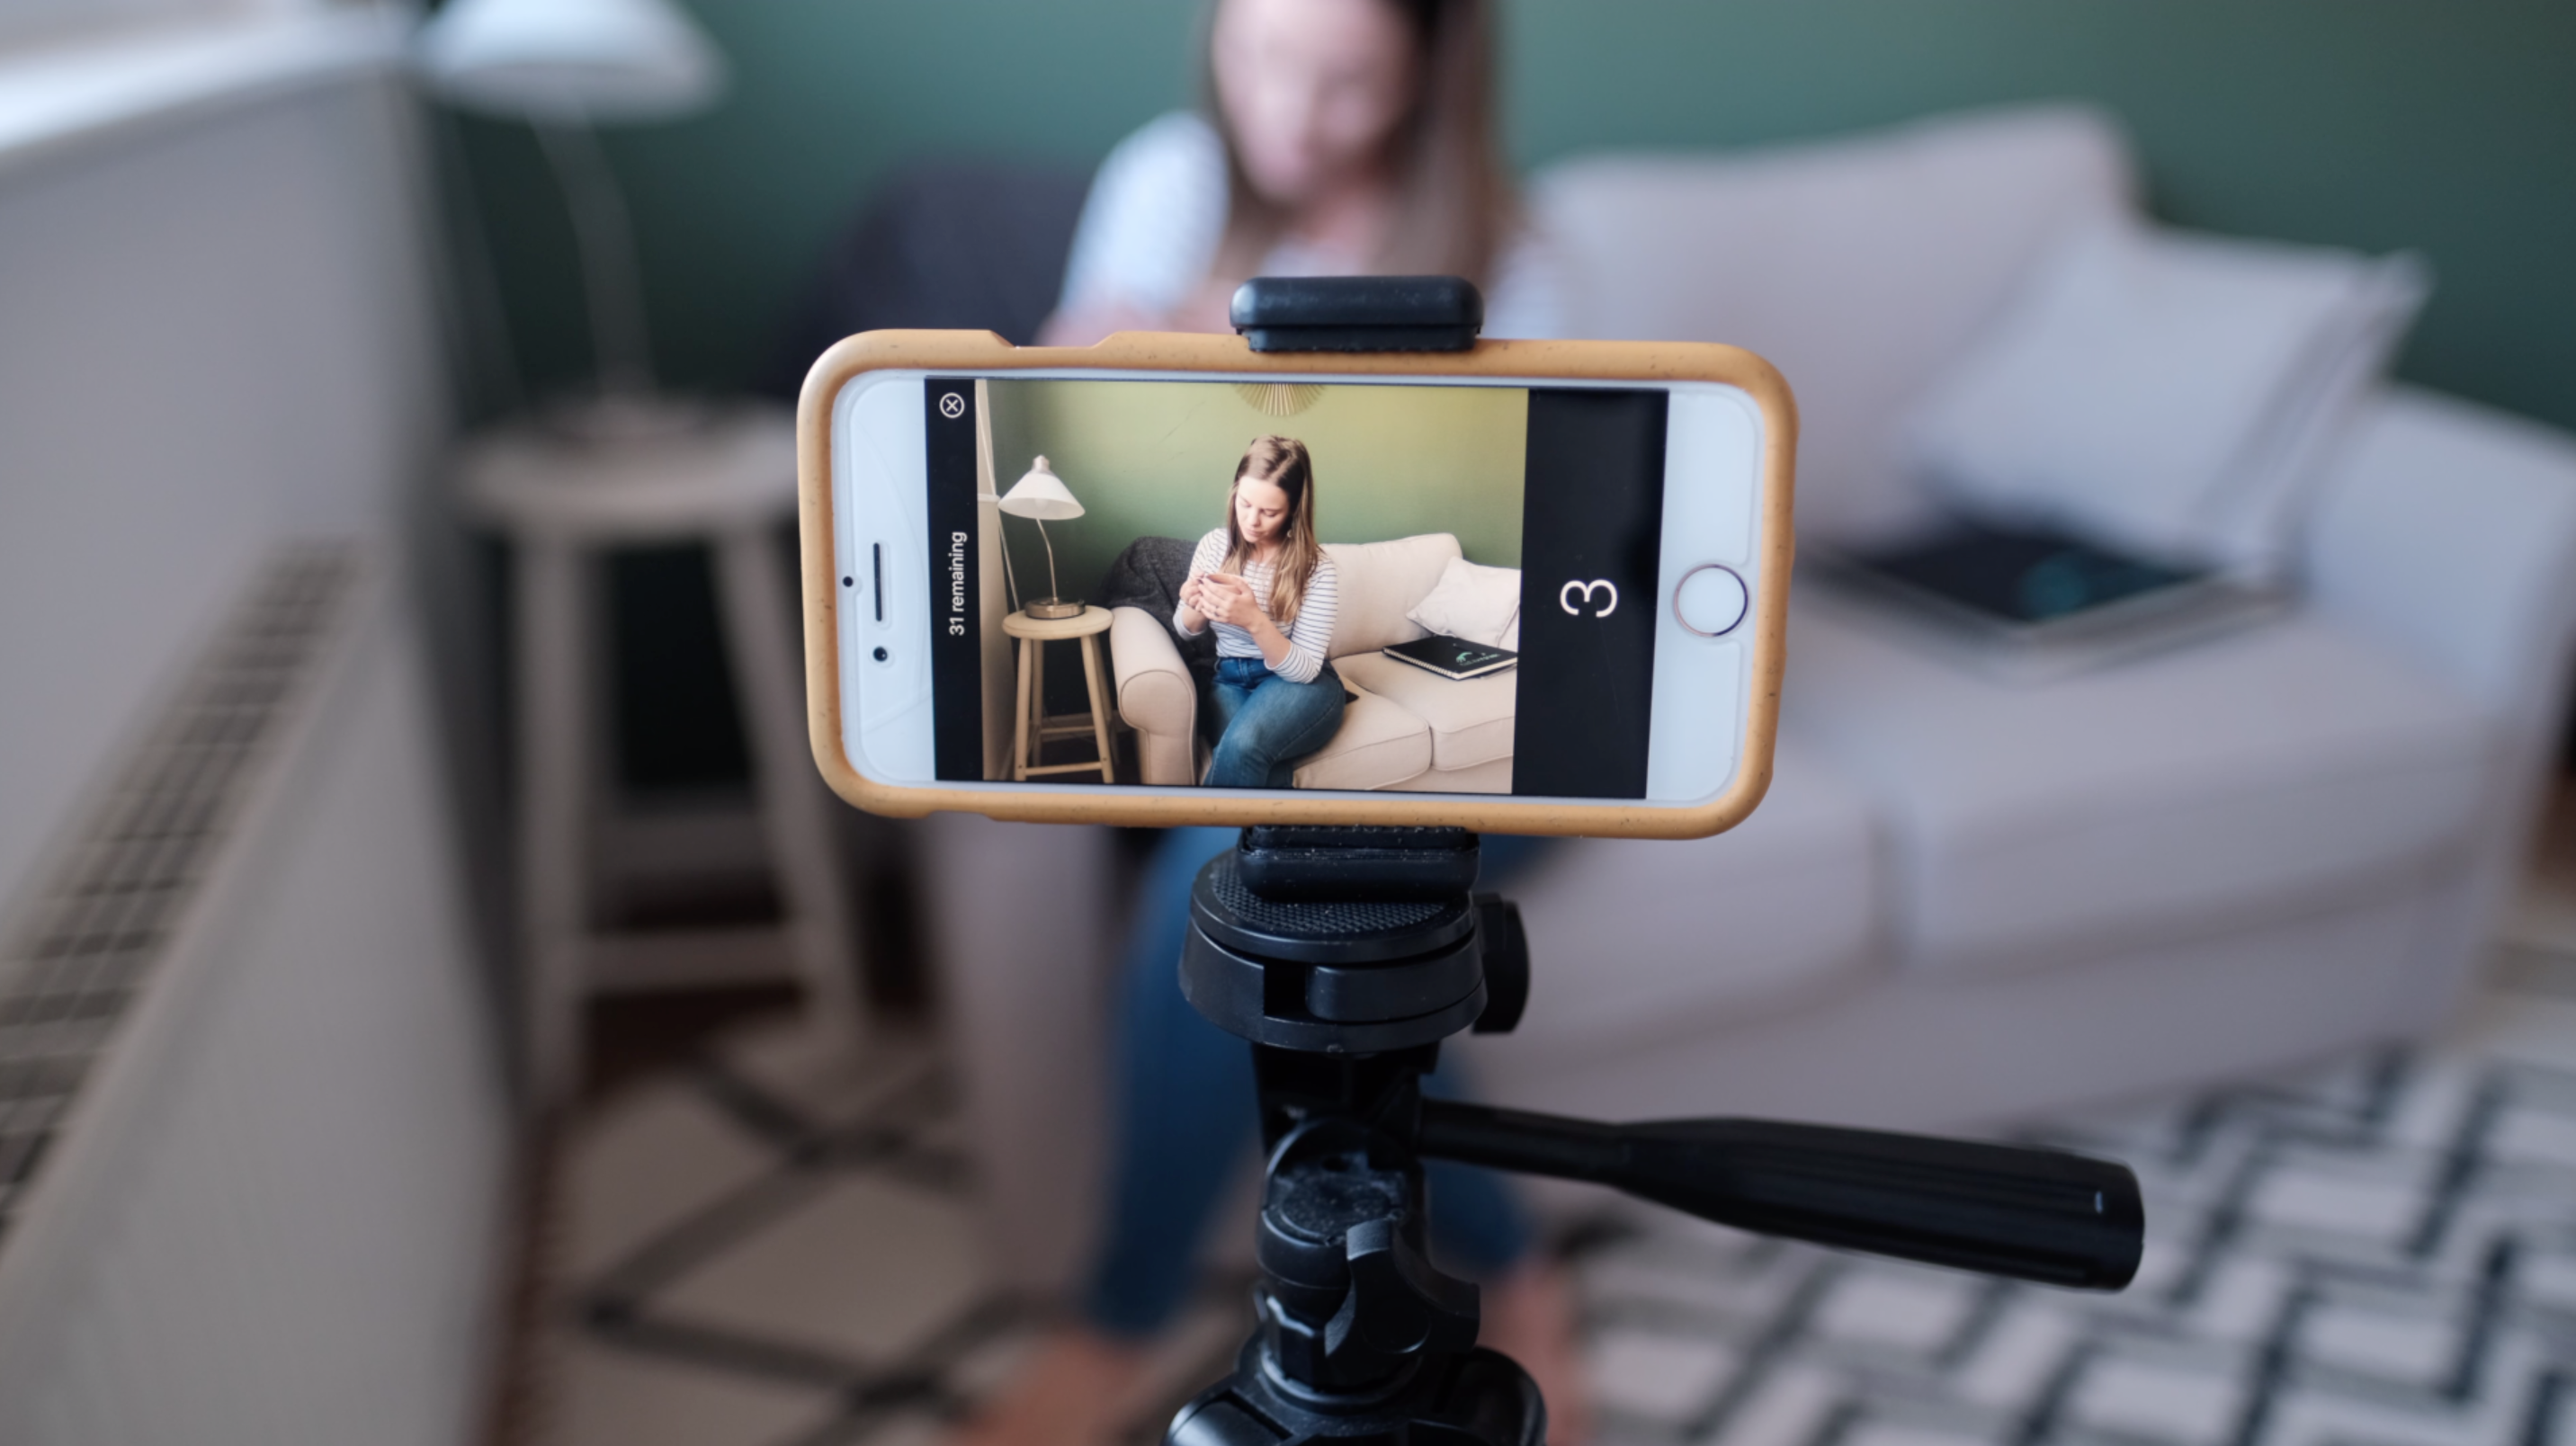
Personal Branding Photography injects personality into your brand through imagery. For many serviced based businesses, freelancers, and creative entrepreneurs personal brand photography is preferable over corporate formal photos. They will typically hire a professional photographer (like me!) to work with.
There are heaps of benefits when working with a professional photographer, but I recognize that not everyone is able to.
If you’re not in a position to hire a pro for whatever reason, I’ve put together some tips on how to take your own personal branding photos.

Tell a story
You might hear this a lot: that storytelling is important when marketing your brand. But people often don’t tell you how to tell your story.
In the context of visuals and photography, you can tell your brand story through setting, props, and clothing. I recommend creating a photoshoot checklist to help you determine what setting you might like, what props you could bring in, and what you want to wear.
Composition
Every story takes place in a scene. Once you’ve chosen your location or scene for your photograph, you need to decide on composition.
Composition is the way the elements of the photograph are arranged in the frame. In other words, what is being photographed and where are objects or subjects in relation to each other?
Remember that when sharing photos to Instagram, your composition changes as your photo will be cropped to a square. You can obviously post horizontal (landscape) or vertical (portrait) photos, but keep in mind Instagram automatically crops your image to a square for your grid. If that’s important for you, then this may change how you compose your image.
Adjust camera settings
You have your scene, your camera or phone is in place to capture the composition you want, now you need to adjust your camera settings.
If you’re using a DSLR or mirrorless camera, this will typically involve adjusting your shutter speed, ISO, and aperture (if you’re shooting manually).
If you’re using a smartphone, this will typically involve locking your focus and adjusting the exposure.
Take a test shot and adjust more settings
It’s really important after you take your first photo that you go back to your camera or phone to review the photo. You might find that you’ve over exposed the image (it’s too bright) or that you need to adjust the camera position for a better composition.
After you’ve reviewed that first image and readjusted your settings, you can go back in front of the camera and pose away.
Animate your poses
I’ve written a whole blog post on posing, so I won’t repeat that here, but I will share one thing: animate your poses.
The camera doesn’t always pick up on subtle expressions, particularly if you’re further away from the camera. Actually laugh out loud (even if you feel silly doing it), actually do the actions (typing on a computer, writing in a notebook), and exaggerate your movements a little.


0 Comments
Trackbacks/Pingbacks