There’s a really famous quote that goes… “The best camera is the one that’s with you.” Which is basically a message of “use the tools you have.”
Even though I’m a professional photographer with a nice camera, I don’t always have it with me. Sometimes I will be out walking with my dog and see something that catches my eye. What’s the one thing that’s typically always on me? My phone.
With today’s camera technology, the majority of us don’t need a fancy DSLR or the latest mirrorless camera to capture beautiful images. Most people own a smartphone and your phone is equipped with a camera that can produce some pretty stellar stuff.
If you don’t know how to use your tools, however, it doesn’t matter if you have a £5,000 camera or a second hand smartphone, your photos won’t look as good as you want them to.
I’ve put together a list of 8 tips in an effort to help us become more proficient at using our phones and understanding different elements that make up a picture.
8 tips to taking better photos on your phone
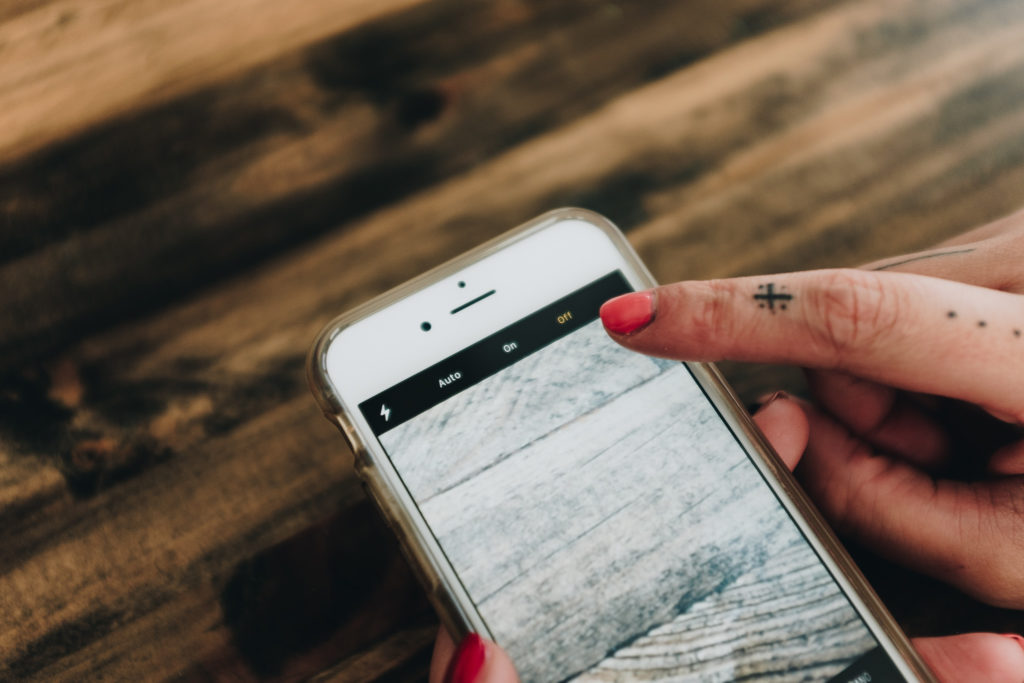
Turn off the Flash
Please, just never use your phone flash unless for purposeful artistic reasons.
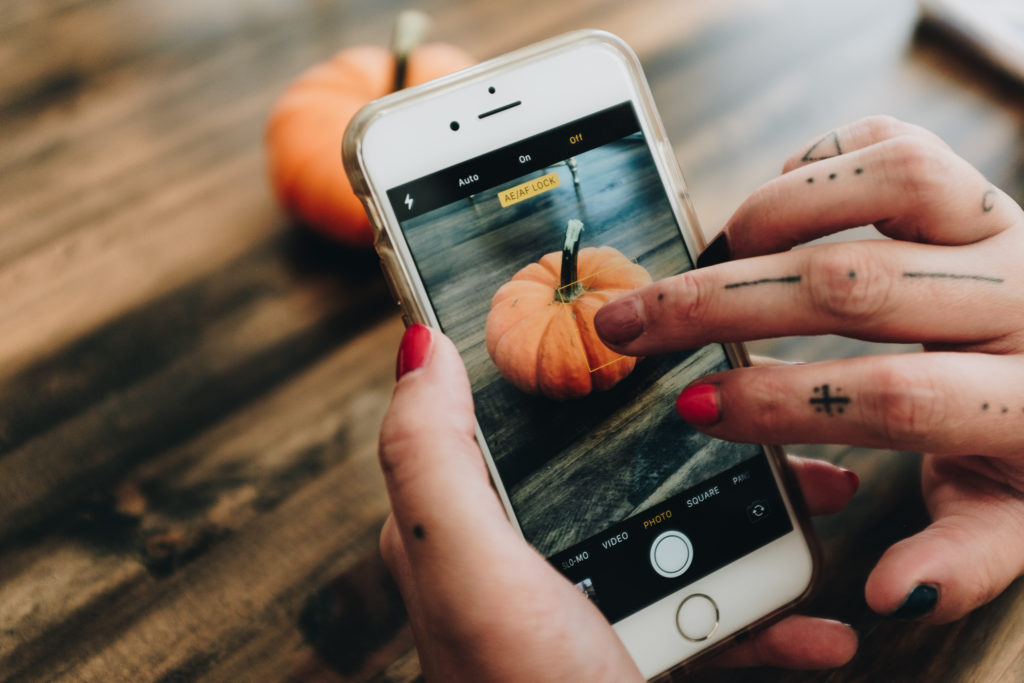
Lock your focus
To lock your focus, tap and hold on the place you want to focus on until the AE/AF Lock appears.
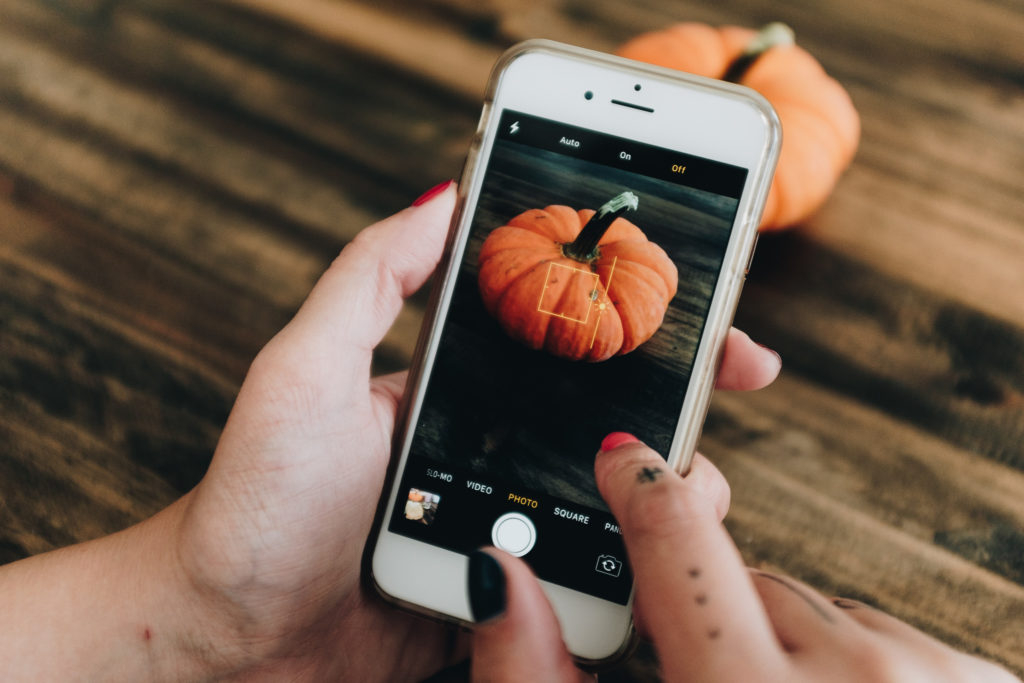
Adjust exposure
The general rule of thumb in photography is to expose for the highlights, or the lightest part of the photo. This is because with all of the editing apps out there (many of them free) you can generally save the details from the shadows in the editing process. To adjust the exposure on your phone, first lock your focus, and then slide your finger up and down for the exposure.
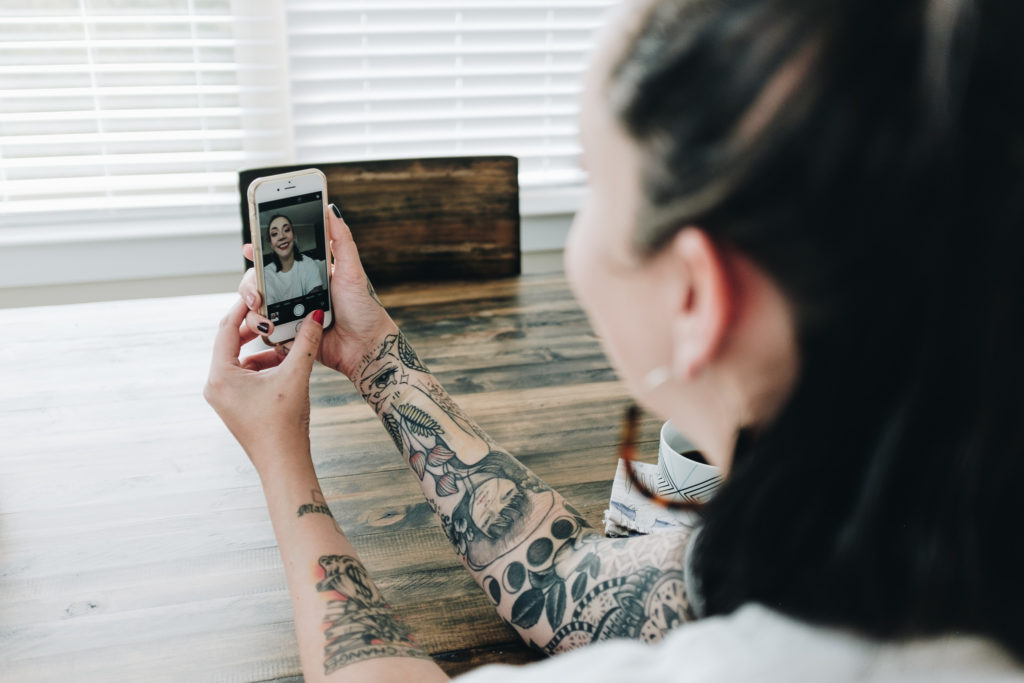
Avoid using the “selfie” camera
The “selfie” camera, or the front camera, on a phone produces an image that is of less quality than the back facing camera. Though technology is improving every day making the quality more comparable, I’d recommend taking the time to set up your phone to take pictures using the back camera, especially for images you want to use in a professional manner.

Use volume buttons to release shutter (take the picture)
Using these buttons is easier than sometimes fumbling trying to locate the shutter release button on the phone screen. This is especially true for when you’re trying to take pictures of yourself using the back camera.
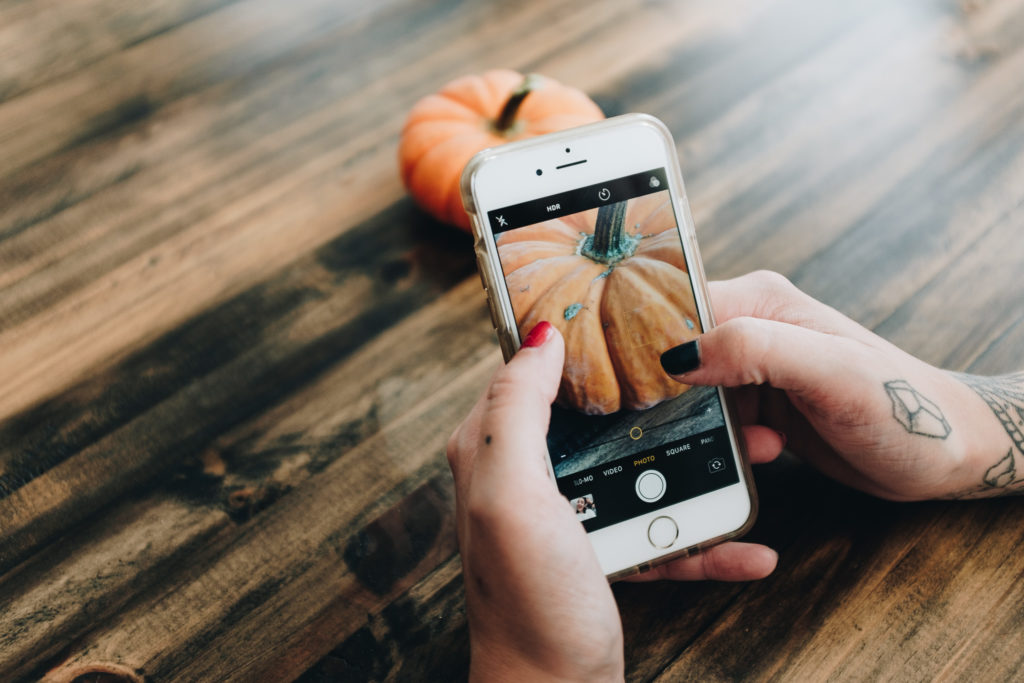
Avoid zooming
Zooming on a phone greatly reduces the quality of an image. Instead, move your body and the phone physically closer to the object or thing you want to photograph.
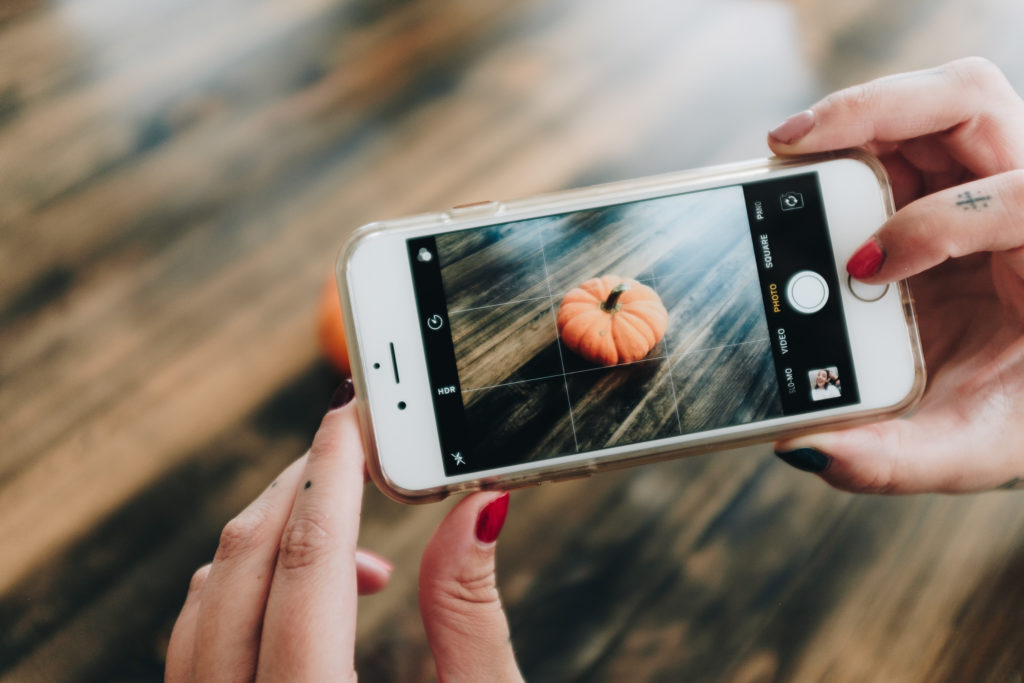
Turn on grid lines and think about composition
Grid lines are useful for learning composition and playing around with space in your photo. To turn on your grid lines for an iPhone, head to Settings > Camera > Grid (toggle on). On an Android, head to Camera App > Settings > Grid lines.

Use light to your advantage
Light is the *most important* thing in photography, especially if you’re using a phone. Phone photography REQUIRES good light for good photos. Notice the two pictures above. The one on the left is back-lit and the one on the right is front-lit. You will produce better photos on your phone when your light source is in front of your subject, or even to the sides. Play around with the available light and use it to your advantage.
Hopefully you find these tips useful, and please feel free to share your thoughts with me and how you get on with them if you try them out.
This article was originally sent out to my email list and has been adapted into a blog post. You can subscribe to my email list here.


This are very helpful tips! Thanks.
Thanks for sharing, very useful for beginners!